Painting - New year, new Bloodbowl pitch (updated Feb 1st) the_solitaire - Jan 26, 2013 - 11:32 AM Post subject: New year, new Bloodbowl pitch (updated Feb 1st)
With a serious lack on progress on the Dungeonbowl pitch and projects related to that I continued using up the leftover pieces of styrofoam.
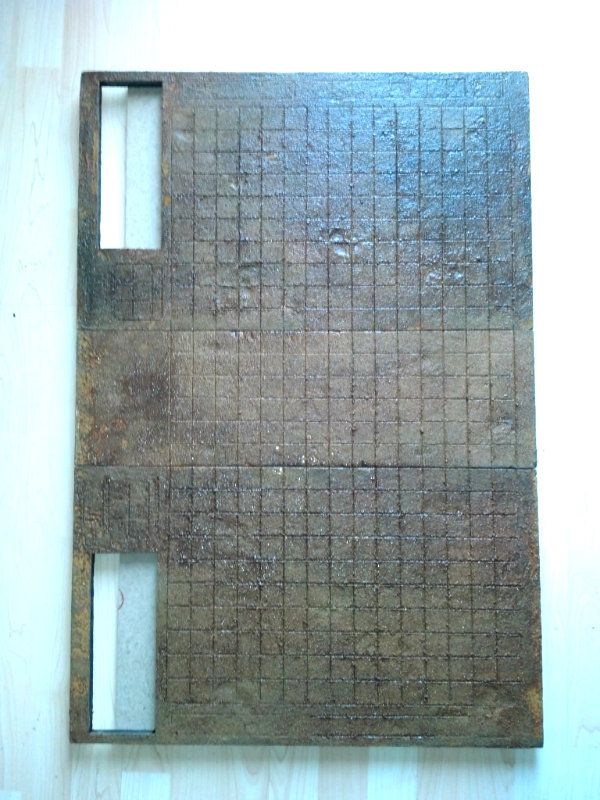
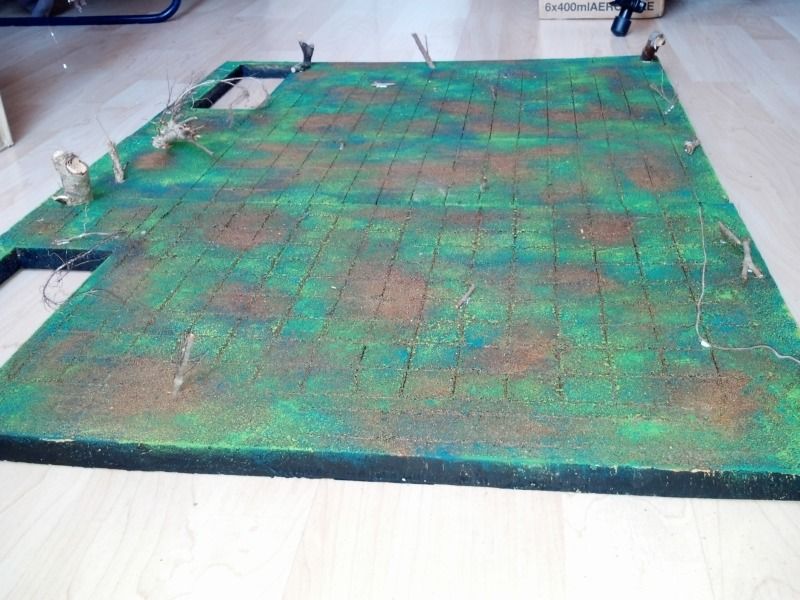
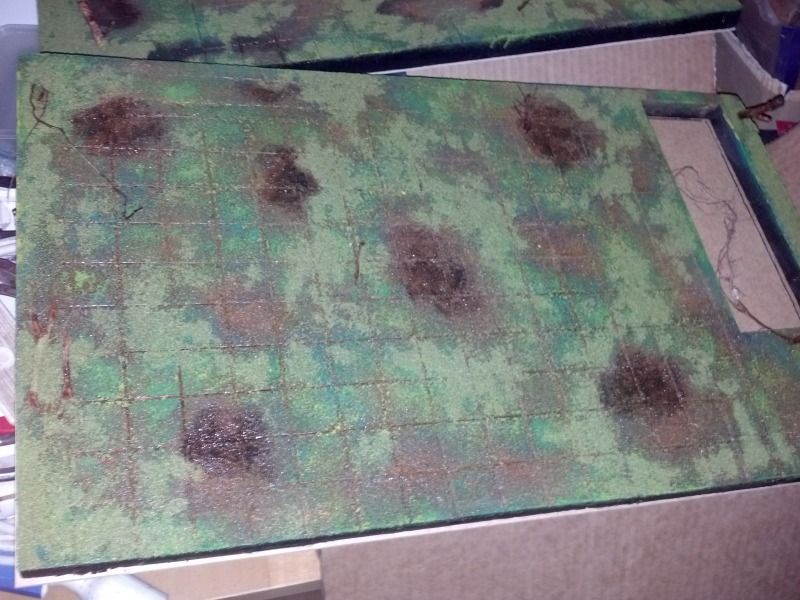
I already started on this pitch when cutting styrofoam for the Dungeonbowl set, and managed to get a base color and some sand on it by now.
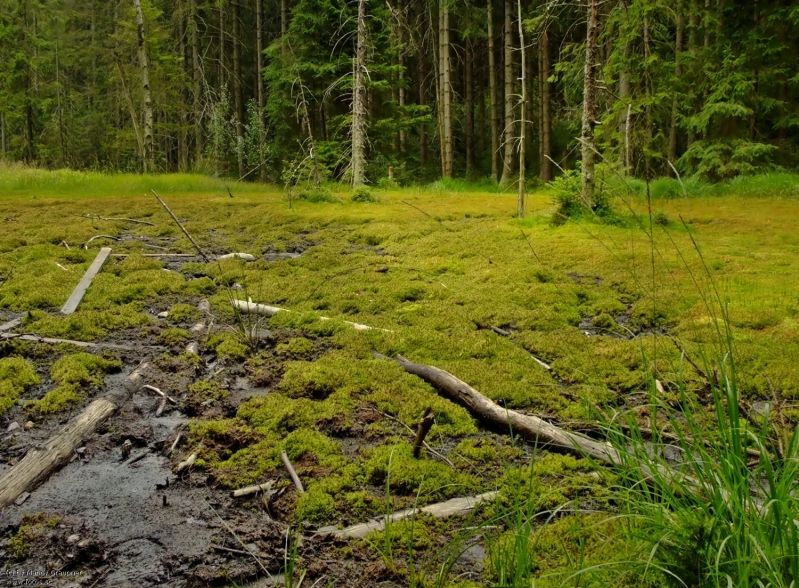
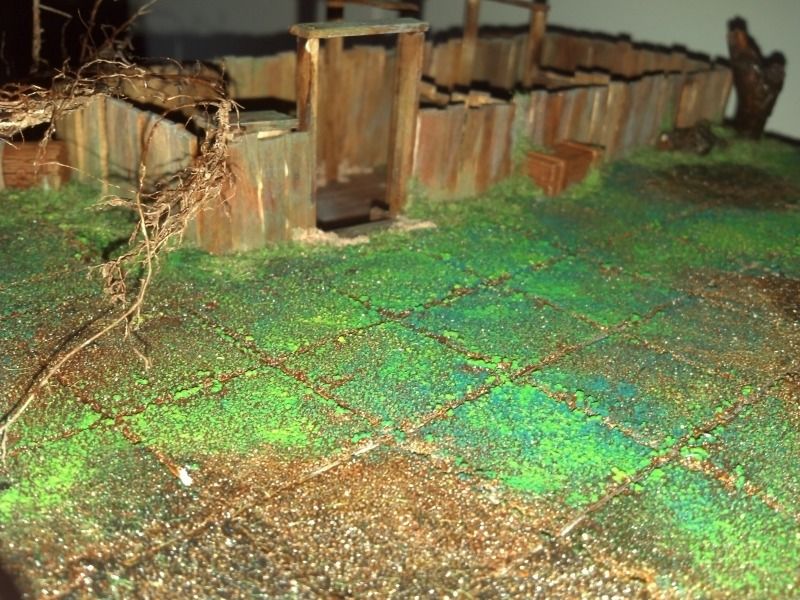
I´m aiming for a look similar to this:
UPDATE::
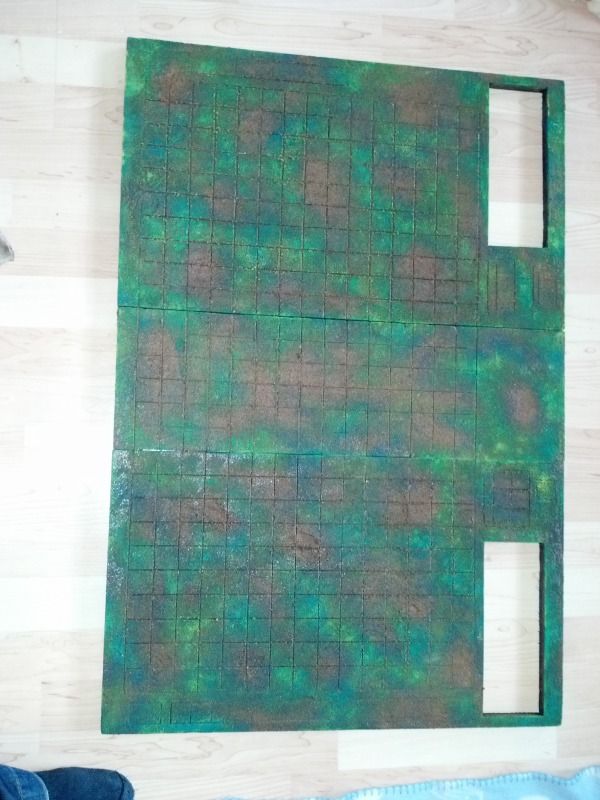
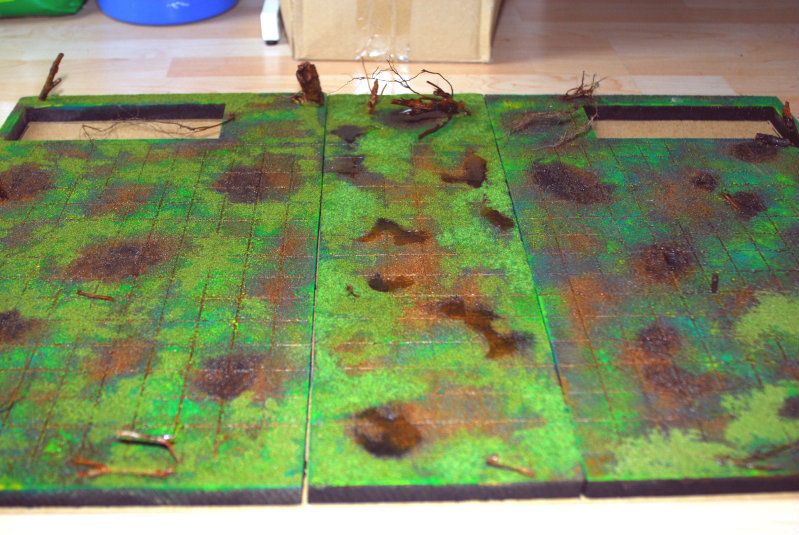
Got some green paint on the board.
I now need to mix some black ink, brown ink and green paint to paint into the areas that are going to be covered by acrylic water later on to give the puddles some depth and make them look mucky.
After that is done I need to add some tree stumps and fallen logs before I can start flocking the board and adding static grass and clumps of foilage.
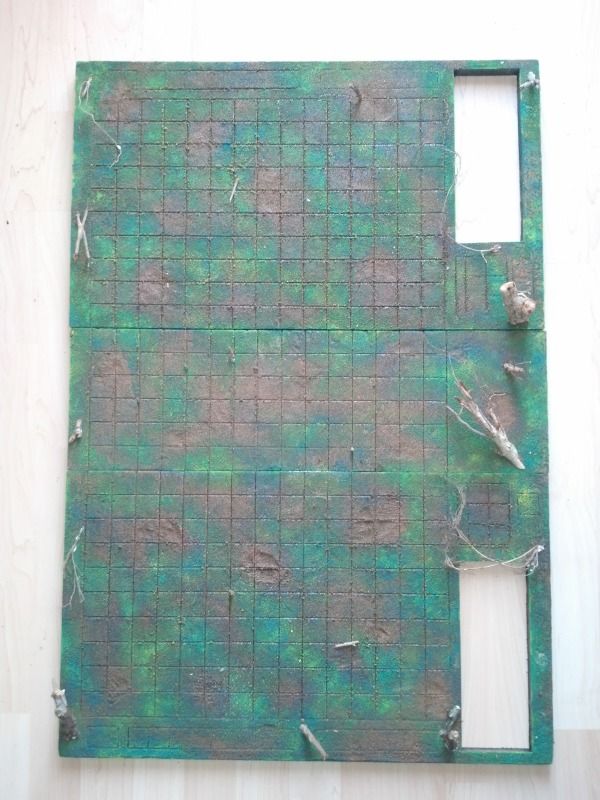
I made some more progress on the pitch.
As usual, I approached the issues at hand in exactly the wrong order.
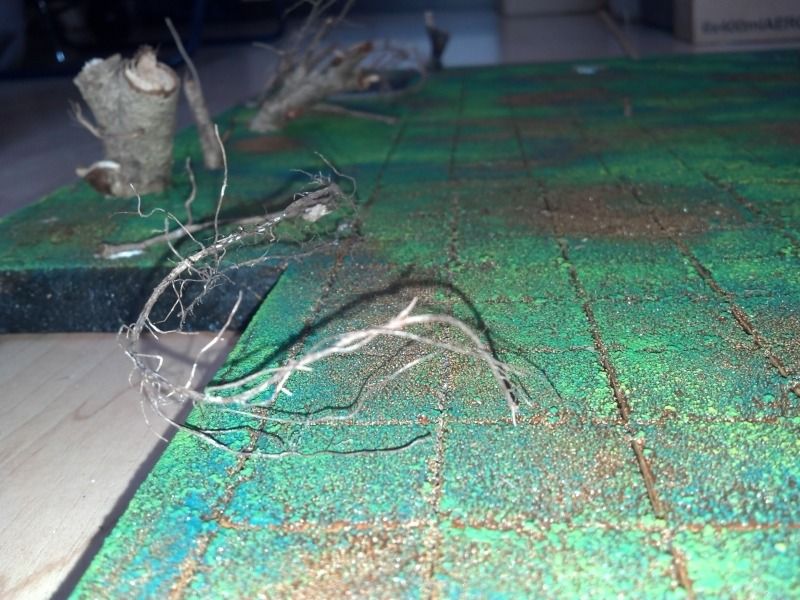
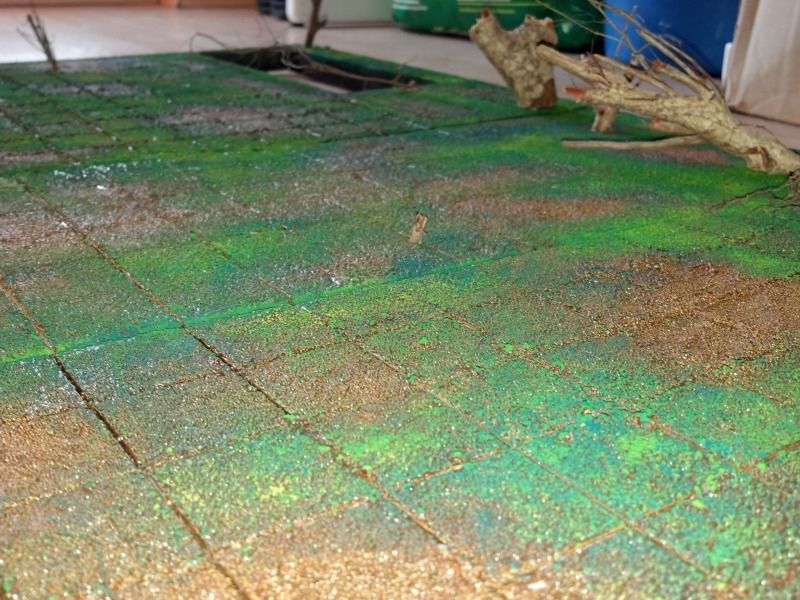
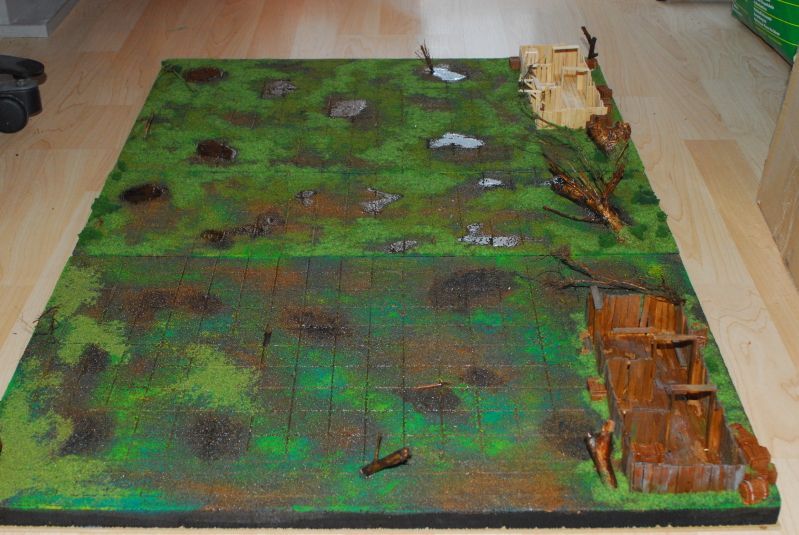
I added some twigs and wood stumps to the pitch that will serve as broken and fallen trees :
And then figured it would be a perfect time to glue the styrofoam boards to some wood to straighten them out and prevent them from bending again.
When glueing styrofoam to wood I advise placing something heavy (like books) on the styrofoam after applying the glue until the glue set. With the trees glued on it´s a bit tricky to find something heavy that is not books.
I used cans of spraypaint, the glue bottle and some water bottles to solve the issue. Mental note to self: Next time, glue the styrofoam to wood before glueing pointy stuff on the surface...
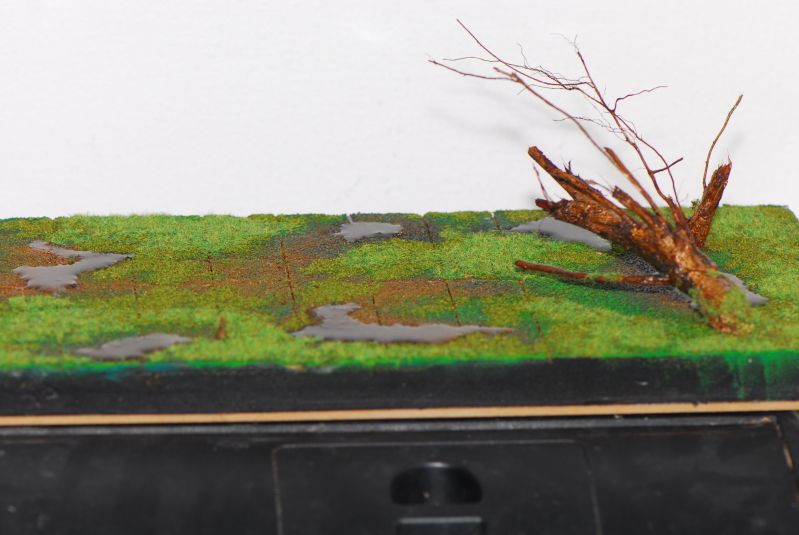
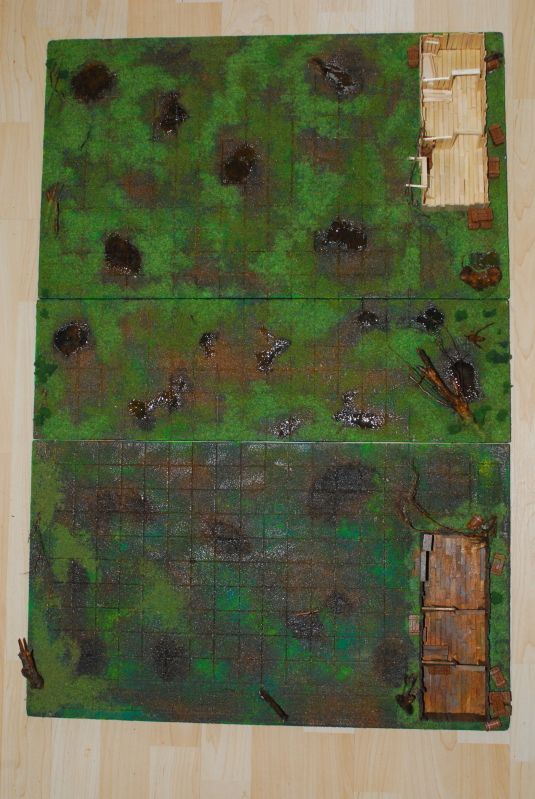
Also darkened the areas that will be filled with acrylic water:
I made some progress on the middle part of the pitch. Added static grass and acrylic water. Now I need to wait for at least 8 hours before I can start adding clump foilage to the board.
Tomorrow I´ll need to get some stir sticks to make dugouts with, and more flock because mine went out before I could finish the last piece of the pitch.
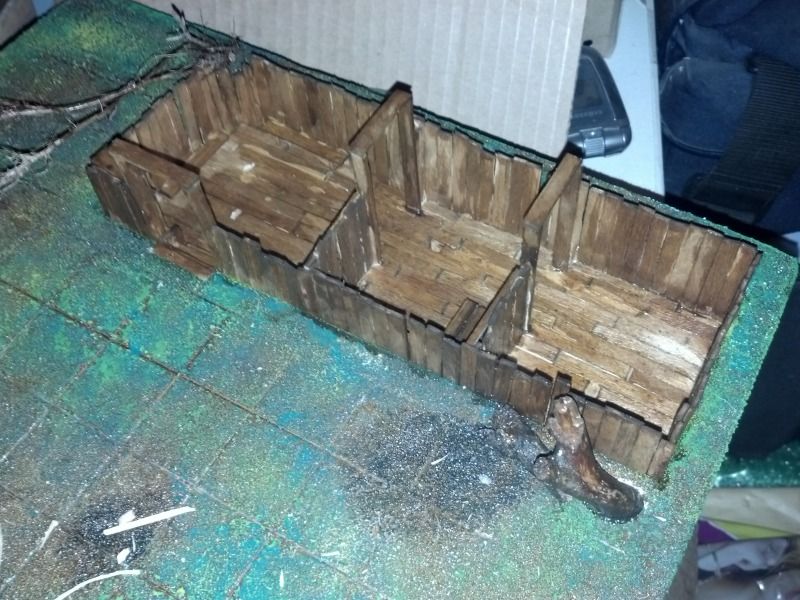
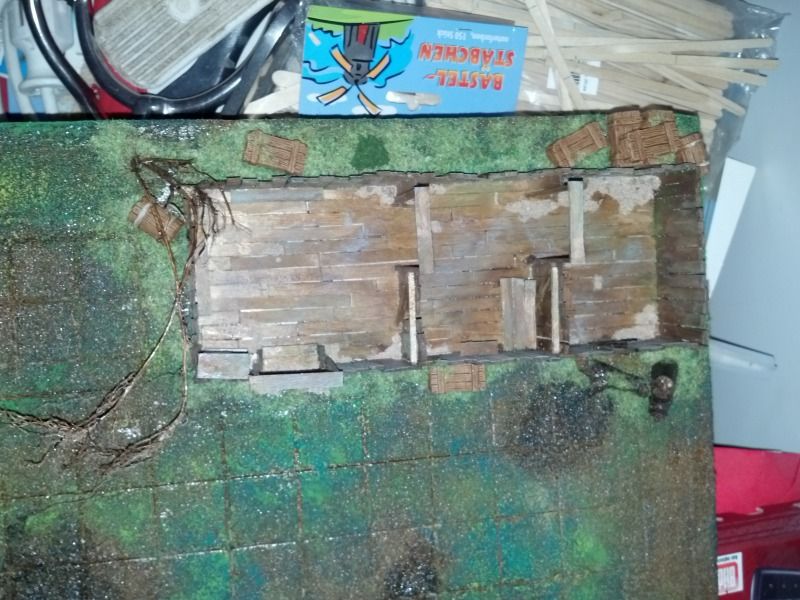
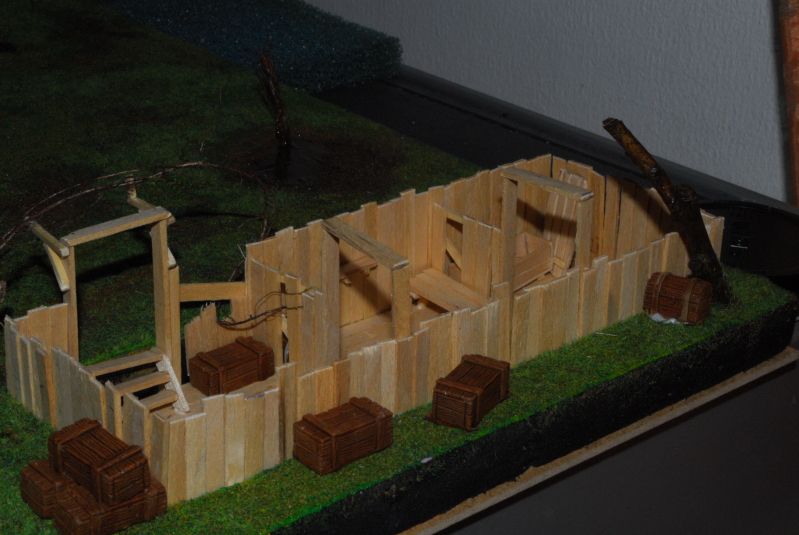
Made some progress on the dugouts today, or at least one dugout.
Some aging of the wood. More to follow (greytones and greens)
Axtklinge - Jan 29, 2013 - 11:33 AM Post subject: RE: New year, new Bloodbowl pitch (updated Jan 28th)
Looking fantastic!
Keep us updated!
Grumbledook - Jan 29, 2013 - 01:53 PM Post subject: RE: New year, new Bloodbowl pitch (updated Jan 28th)
oh have you been editing the post rather than posting replies? get no notification to check for updates if you do that ;]
looking forward to seeing it finishedthe_solitaire - Jan 30, 2013 - 05:14 AM Post subject:
@Grumbledoc, I wasn´t sure whether it was ok to update using the reply option, so I chose the safe route and edited my existing post.
I´ll switch to replying then
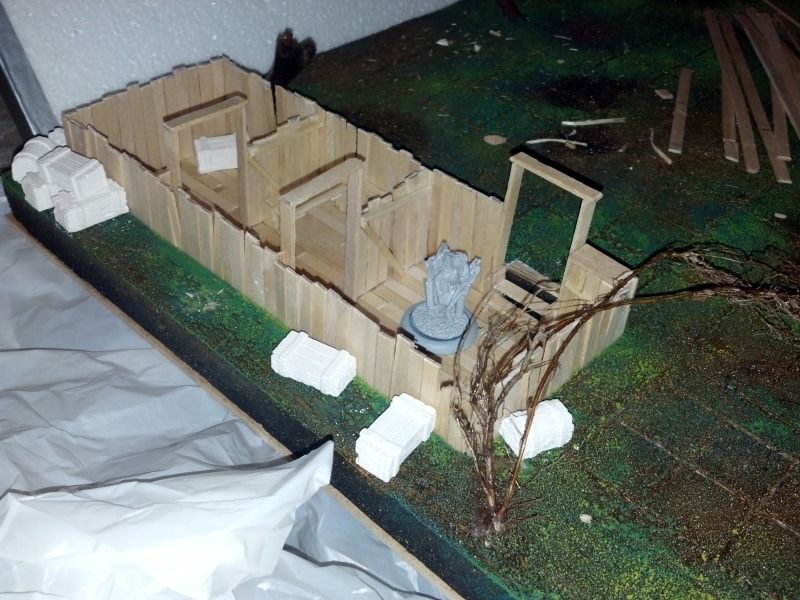
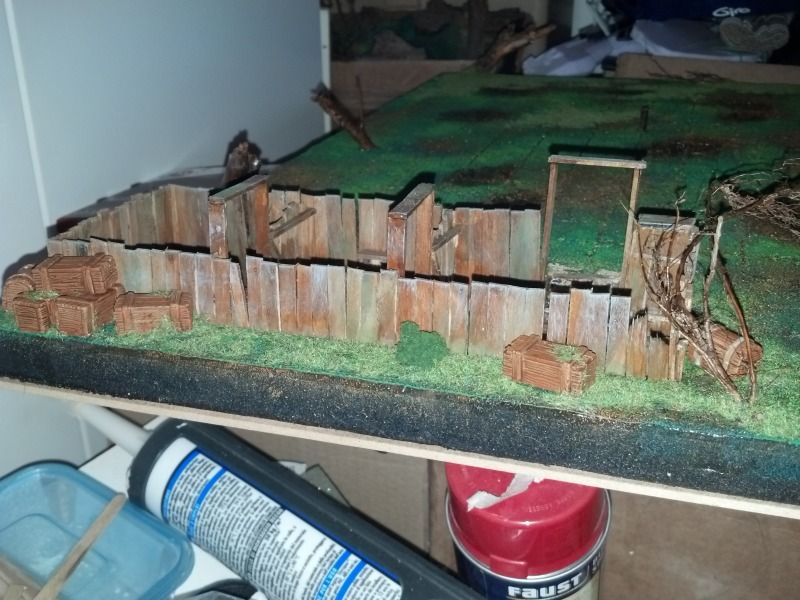
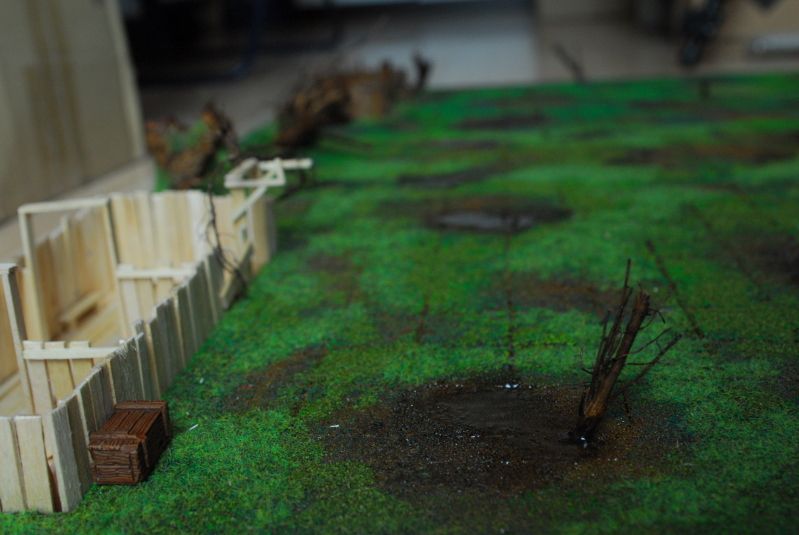
I added some detail to the dugout that I made.
Added static grass, some crates and sand.
The layout shows that I made the reserves part a bit bigger then the KO´d and Injured and dead sections.
The reserves section holds up to 5 30mm bases. The other two sections 3 each after all the detail is added.
Still need to add some surgical gear, bottles and of course coffins.
As to the puddles, I use a German product made by a company called Creartec. The product is called fluid water.
I bought a 250 ml container. What I like is that the product flows well. I used Vallejo water effects and never got a smooth surface. This stuff automatically gives you a smooth surface.
The 250 ml container has a nice nozzle that provides excellent control on how much of the product you apply.
The usage instructions states the maximum thickness for a single application at 2-3mm. It needs to dry for 48 hours after that.
During the curing process you need to keep your product absolutely level. Otherwise the product runs or your water isn´t level after it dried.
I applied 2mm layers twice now. They shrink to about half their depth during the curing process. It´s no problem to add another layer and the final result is still perfectly clear. You don´t see that you applied more layers as long as you make sure to keep the surface sterile before applying another layer.
I would use this for shallow water applications. For deep water, better use Woodland Scenics realistic water.
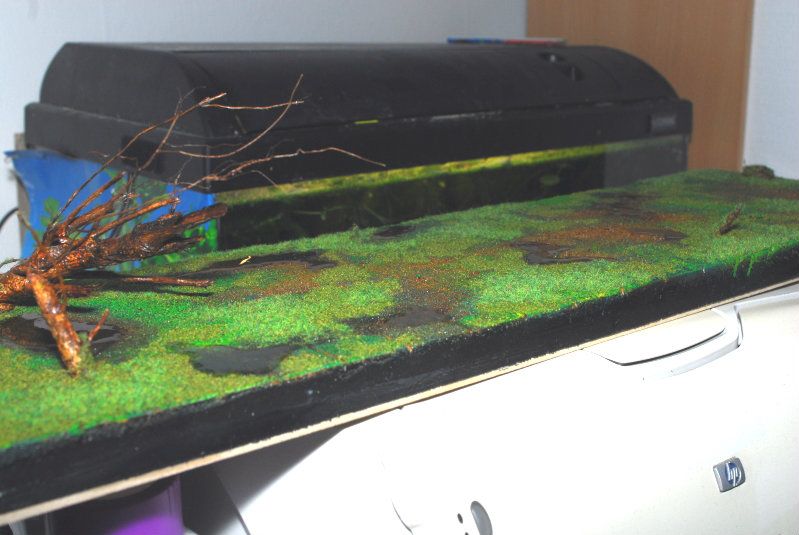
I will have to make some new pictures after 96 hours of curing and 2 applications on the board I made. I am now at about 80 hours curing time, so I know the water surfaces will shrink a little still in the next few hoursthe_solitaire - Feb 01, 2013 - 02:32 AM Post subject:
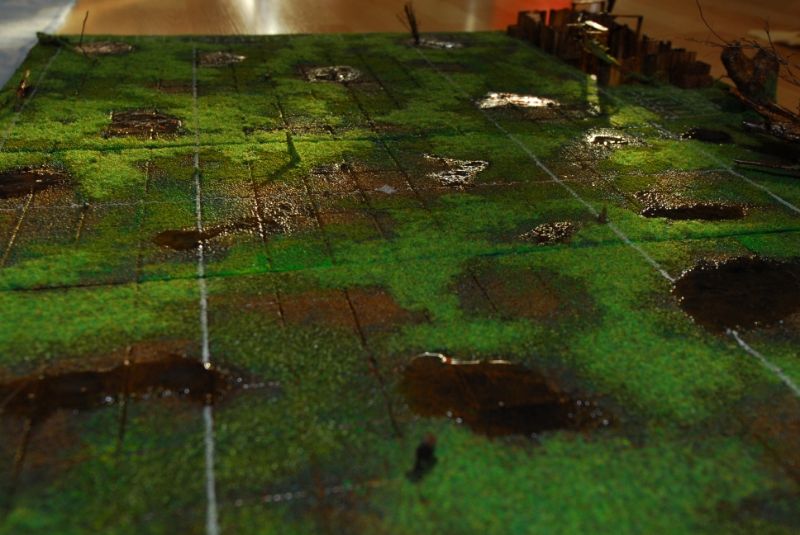
The puddles are working out just fine. Decided to add a 4th layer and blend it into the terrain a bit more using a brush to move the acrylic mass to where I want it.
I made some more pictures to show the progress:
scottprime - Feb 01, 2013 - 12:13 PM Post subject:
So awesome, thanks!the_solitaire - Feb 15, 2013 - 08:41 AM Post subject:
No picture updates at the moment.
I received my replacement flock. Applied flock and static grass to the last third of the bloodbowl pitch. Applied clear to fix the grass and then applied the already 4th layer of acrylic water.
As soon as the acrylic water is done I can finally start painting lines on the pitch and continue from there.Axtklinge - Feb 16, 2013 - 02:17 AM Post subject:
Where did the crates came form?
Are they 'one piece' solid or do they have a 'top' to close?the_solitaire - Feb 18, 2013 - 09:43 AM Post subject:
The crates are plaster one piece contraptions from the same Hirst Arts mold used to make the chests for my Dungeon Bowl set
Time for updates
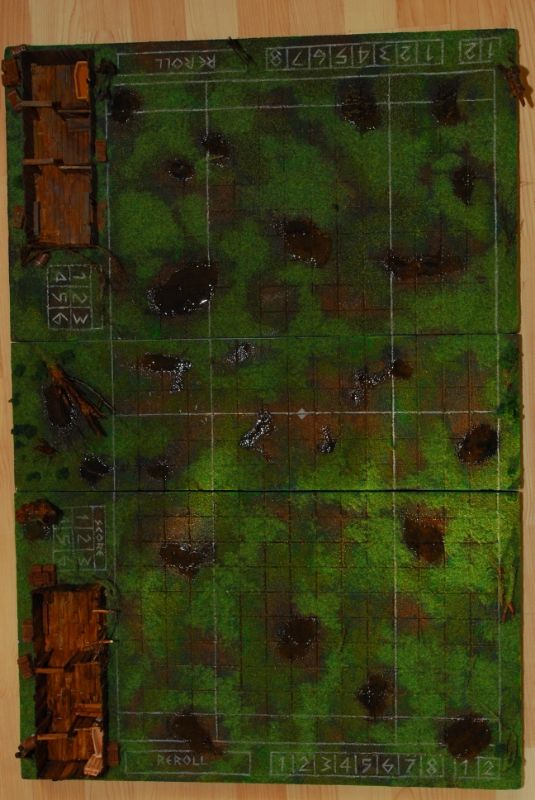
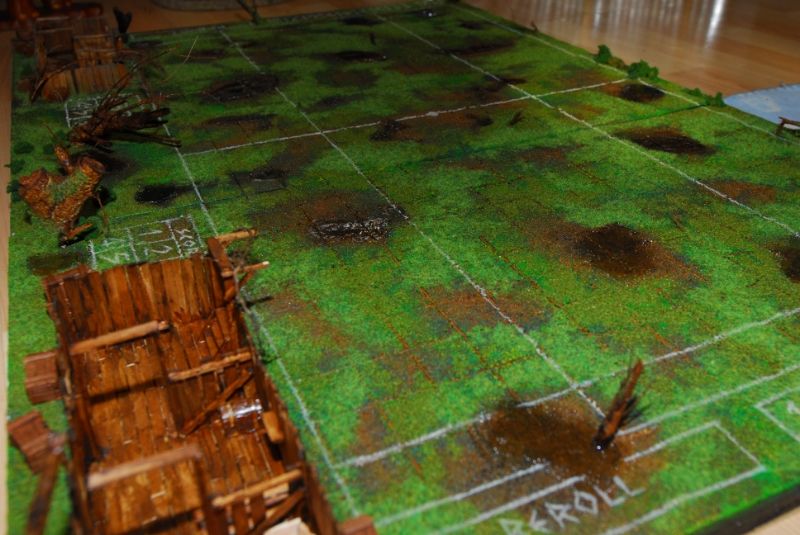
I finished painting the lines, applying static grass and flock and most of the major building and painting.
I wanted this field to be as compact as possible while still featuring some stylish dugouts.
To achieve that, while still adding some tree stumps and bits to get that moor like look I had to be creative with where my turn, score and re roll counters would go.
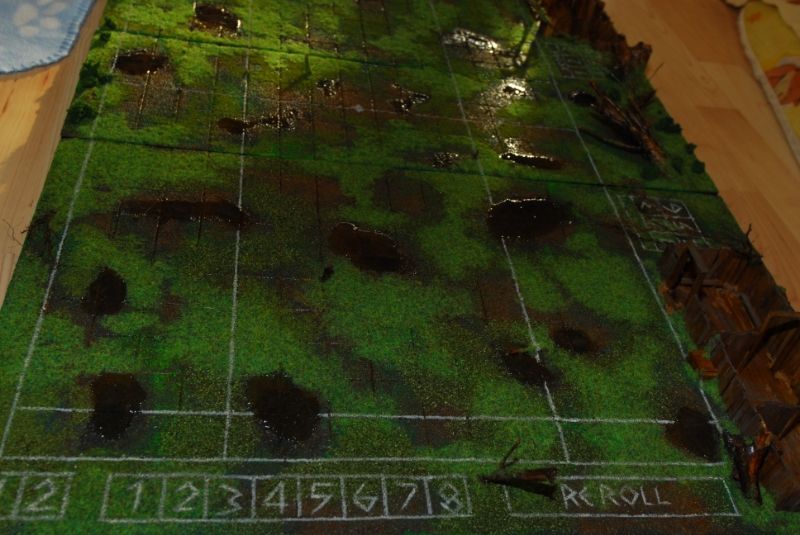
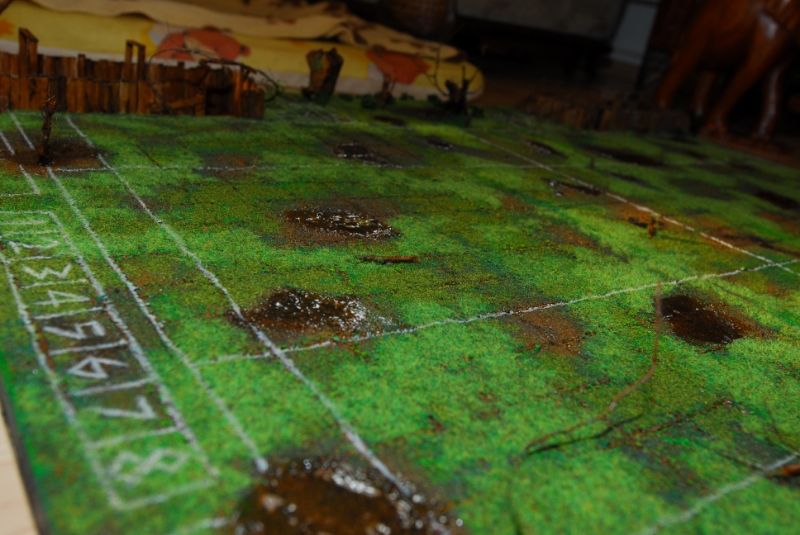
I decided to make 8 1"x1" fields to use as turn counter, and added 2 more fields marked 1 and 2 to indicate 1st and 2nd half.
Due to a lack of space I decided that 6 field score counters would do. I never scored more then 6 touchdowns in a game of bloodbowl so for a field for personal use this decision is ok.
I made a 6"x1" sized area in which reroll counters can be placed.
And of course the dugouts with all the required bits and pieces.
I am quite happy with results of the acrylic water. It´s not entirely flat but good enough for me.
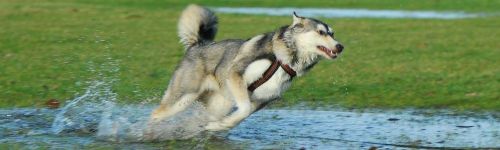
And a final shot of the dog testing the puddles
One thing I still need to decide on is what sort of logo should go in the center of the field. The regular skulls or something more moor´ish?
Next up for this field is making a case to transport and store it inGrumbledook - Feb 18, 2013 - 01:03 PM Post subject:
why not post the designs you are considering and get some opinions
the puddles near the middle of the pitch may cause a problem though, I think you may have needed to do the pitch design before adding them otherwise it's going to sit on the water...the_solitaire - Feb 20, 2013 - 10:25 AM Post subject:
Someone on TFF came u with a brilliant suggestion which I instantly put into a visual image.
So fortunately the logo is also taken care of.
I was lucky that it fitted right in between the puddles and the static grass
Grumbledook - Feb 20, 2013 - 11:31 AM Post subject:
that works rather well, good job!Axtklinge - Feb 22, 2013 - 01:11 PM Post subject:
It looks fantastic.
Love the eyes!the_solitaire - Feb 25, 2013 - 06:27 AM Post subject:
Thnx for the kind words. Looks like I can get a game going soon, and I´ll make sure to make some pictures